Wednesday, April 29, 2015

Anna - Frames of Joy Photo Shoot

I'm blessed with some amazingly talented friends.  

Really, I am.  

From makeup to hair to fashion, God has gifted all of them with abilities that are far beyond what I could ever produce.   

One of these dear friends recently lent me her talent for photography during a special photo shoot.  Anna, from Frames of Joy, did an amazing job capturing one of my first projects.  She absolutely transformed it using light, angle, aperture, and her natural eye for a great photograph.  

In her honor, say, "hello" to this darling little rocking chair named Anna.


Anna was a rescue from one of my favorite places, Consign It Furniture in Kennett Square.  It was shabby and $15.  I was pretty optimistic about giving it new life. 


Looking back, Anna was totally out of my league.  Her back was woven reeds, most of which were broken and needed to be repaired.  I thought I could weave a new back using jute.  About half way through the process, it became obvious that I was in over my head.  I can upholster and paint, but (as I found out) I can't re-cane broken backs of chairs.  

I enlisted the help of a wonderful woman who does caning and rushing on the side.  She built a new back for the chair and it's solid, sturdy, and striking.


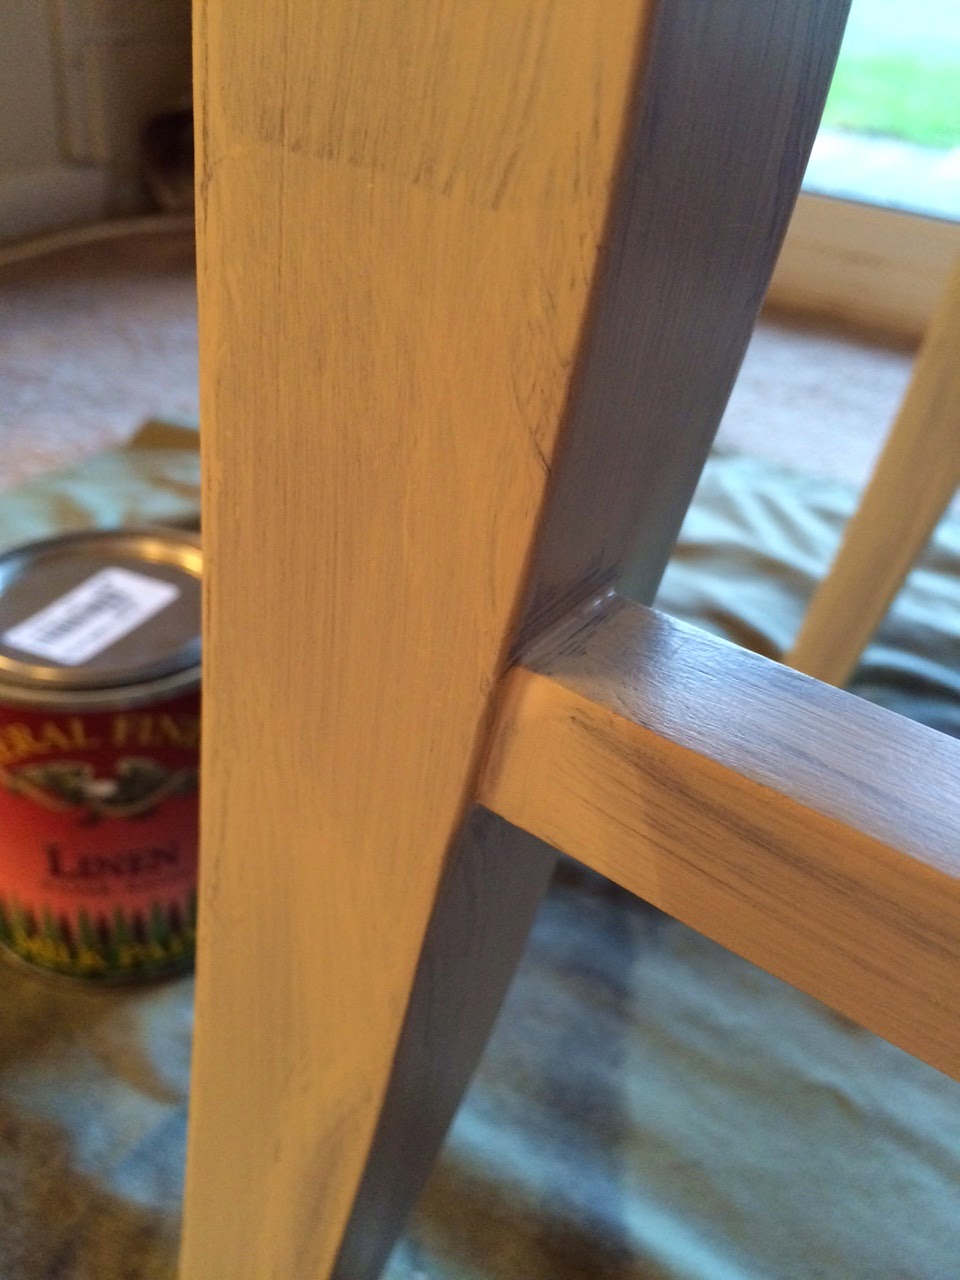
Anna also needed a new seat, new foam, and a new paint job.  


She was a lot of work, but she was worth it!  I picture this gem on a sunny porch with a cup of coffee and a good book.  How many years of rocking have been spent on these runners?  She's still got miles left in her!


So what do you think?  Do you have space in your home for her?

Frames of Joy also captured some of my other gems during our session.


 I snagged this shutter for $40 from Creekside Antiques.  It was painted in Miss Mustard Seed's French Enamel and finished with her Antiquing Wax.  The wreath was made out of a burlap roll and a wire wreath frame.


This frame was painted in MMS's Luckett's Green and Shutter Grey.  The photo is from The Graphics Fairy.   


This clock is part of a photo collage that adorns my wall by my TV.  It was a find from the Christmas Tree Shop and is painted in MMS's Boxwood.

Like I said, I'm blessed with talented friends!

Sunday, April 26, 2015

Daphne the Red Rescued Restaurant Chair

One of the benefits of living in my apartment complex is the dumpster.  

Yep, that's right.  The DUMPSTER!


The dumpster in my complex is a magical place where discarded pieces of furniture go to be scooped up by trash pickers...dumpster divers...ahem...DIY'ers like me.  

Every so often, I'll stroll by while taking out my trash and I'll see a glimpse of a wooden leg, a sneak peek of a table top, a glance of a discarded mirror and my heart skips a beat.  Is there something good back there?  Can I remake it into something awesome?  Did I just find a total jackpot for FREE?!?!  


In this girl's DIY world, FREE is golden because it increases my profit margin exponentially.  
If I don't have to shell out money to acquire the item, then it will return much more profit.

A few days ago, I scored this rescued red leather restaurant chair.


Her frame was sturdy.

Her joints tight.

Her padding clean with no mold.

Her (rather brightly colored) red leather in good condition.

Did I have space for her in my car?  You bet I did!

I started her renovation process by unscrewing the seat and the back.

After that, I began the tedious process of removing all of the staples that held the leather on.  I grabbed my screwdriver and put a flat head attachment on, a small bowl (you'll see why in a minute), and a pair of needle nose pliers.  My supervisor, Jake, came over to do some quality control and gave his approval to continue. 


As you can see in the photo above, the chair had a piece of black fabric that was stapled on to cover up the places where the red leather was folded over on the bottom.  It was in great shape and I liked how it made the bottom "cleaner", so I was very careful not to rip it when I was removing the staples around the perimeter of the seat. 


I pried my screwdriver under the staples one at a time and popped them up just enough so I could come back with my pliers to yank them out. 


Time Saving Tip: Pop up a bunch of staples in a row and pluck them out in one swoop instead of one-by-one. 


Here's where that bowl came in handy!

The wood underneath looked great when I got the black fabric off.  It wasn't wet, warped, or stained at all. 

I took another trip around the seat and removed the rest of the staples, peeling off the red leather as I went.


Here's the bottom with all of its parts separated from one another.  The foam on the seat was in great shape too!  It was perfectly shaped to fit the wooden bottom.  Most of the chairs I've worked on in the past have either needed a new wooden seat, new padding, both, or I found I couldn't rebuild the bottom at all and it was a wash.  I was so pleased to see that the chair was well-built all the way down to her core!

The back rest was a bit more tricky.  As you can see, the bottom edge was stapled while the top edge was sewn.  It was a little harder getting my screwdriver underneath these staples because they were so close together. 


You can also see the holes where the back rest gets screwed into the frame from the bottom.


I thought it would be a good idea to take note that the maker of this chair sewed the front and back panels of leather together and then wrapped them around the back frame.  The top piece of this chair was definitely going to be hard to reupholster.


This is what the back looked like once I removed all of the red leather.  

Once the cushions were off and deconstructed, I set to sanding the frame of the chair.  As you can see in the picture below, the wood had a very shiny polyurethane top coat.  I scuffed it up pretty well to ensure that my paint had a surface to stick to.


 See all that white powder?  That's the poly top coat coming off.


I decided to go with General Finishes Milk Paint in "Linen".  You can see the can in the background here.  I began by applying multiple light coats of paint.  The first always looks the worst.  It's splotchy, streaky, and this is the part where some people start to get scared and want to back out of the process.  Have no fear!  Keep applying your coats of paint and all will be well - I promise!

Here's a sneak peek of the fabric I picked out at Joann's today.  Confession - it took about an hour to settle on this pattern.  I wanted something modern and geometric as opposed to a floral or toile because the frame of the chair is more modern and sleek.  A lot of the patterns were too large for a chair cushion.  I wanted something that had a smaller, tighter, repeated pattern so you could see more of it on the cushion.  (Does that make sense?)


In between coats of paint, I made sure to sand away any spots where I had build up or drips


Like here


And here


And up in the corner.

After a couple coats of paint, it was time to choose a topcoat for the chair.  I wanted something quick and easy to apply so I picked Miss Mustard Seed's Furniture Wax.  It's buttery soft and goes on easily with a brush or rag.  


I worked the wax into the wood in vertical strokes and then came back and wiped away the excess with a rag. 

After waxing the frame, I set to work reupholstering the seats.  I cut around the fabric


Pressed it


And voila!  Let me present Daphne!


Imagine her with wood and red leather before.  Quite the transformation, I'd say!

Wednesday, April 22, 2015

Meet "Mia" and "Amelia"

The end table is finally finished and she looks absolutely adorable.  

Her journey went from an outdated cherry wood end table with an 80's fabulous brass Chippendale handle...


to this...


I think that's a big improvement, don't you?  

General Finishes' Milk Paint in Persian Blue covered this piece very well.  It's protected with their Water Based High Performance Top Coat in a flat finish.  (I didn't want it to have a very shiny finish.)  Seeing as how it's an end table, it needed to have a durable top coat that could hold up to books, cups of coffee, and remote controllers.  (If you're anything like me, you have at least 3 remotes.)    


I always chuckle when I see the drop leaves extended like this.  It looks like she's getting ready to take off and fly away.  I wanted to give this piece a pop of something special, so my Martha Stewart lace stencil did just the trick!  (I picked mine up at my local Joann's Fabrics.)  When thinking of a name for this piece, I wanted something playful, short and sweet...like Mia.  (I also can't help think of Mia from The Princess Diaries.  Kind of dorky at first but she polishes up pretty well!)


Remember the old school brass Chippendale-style handle?  Gone baby gone!  It's been replaced with a sleek nickel cup handle.  


Nice legs!

As for the lamp, she's all done as well.  If you remember, it started out just as brassy and outdated as Mia. 


In the words of Sara from Jimmy Fallon..."Ew!"  

The original shade was a regular drab cream pleated, brass armed, traditional accessory that I quickly donated to Goodwill.  It looked similar to this:

  
A couple of coats of spray paint, a new lampshade, and stencil pattern later, here she is!  Say "hello" to Amelia!  


Do you see a trend here with the stencil pattern and color choice?  What can I say?  I was in a Robin's Egg Blue mood.


When I first finished this piece, I really liked the contrast between the blue of the lamp body and the brown of the shade, but the shade was a little boring by itself.  It needed a pop of something special, just like Mia, so I broke out Martha Stewart's stencil again and went to town.  

"Mia" and "Amelia" will be up for sale soon!  They have a scheduled photo shoot with Frames of Joy coming up in a few days. 

In other furniture news, I scored a solid wooden chair with a red leather seat and back.  It's in the makeover process right now.  Here's a sneak peek of what's in the works:


Friday, April 17, 2015

Fabulous Freebies

As my family is updating each room of their house, I am being gifted with their old and outdated furniture.  My most recent acquisition was this drop-leaf cherry end table.


Don't you just looooove the old school brass Chippendale style handle?  ;)

The awesome brass lamp was another freebie as well.  It's rocking the same style as the table.  I remember these pieces growing up and never thinking twice about them being "out of style".  Isn't it funny how drastically styles change over time?


I started by taking the lamp apart slightly and taping the electrical components for a few coats of spray paint.

For those of you who don't know much about lamps, see this diagram.


 There are two ways to put a shade on a lamp.  One way is to keep the harp attached and to place your shade on the top.  (Such as the method shown above.)  Another method is to take the harp off and sit the shade around the socket at the top.  Stores sell lamp shades to fit these two different styles.  


I started by twisting off the finial, squeezing the harp, and lifting it off the socket.  The socket twists off as well and I pulled it out slightly revealing the wires.  A few wraps of painter's tape and a sandwich baggie later and my top was protected for spray painting.    


Next, I unscrewed the nut around the switch and pushed it back into the base.  I taped off the hole and bundled the cord into another sandwich bag. 


Now comes the fun part - spray painting!  Instead of waking up to coffee brewing and the birds chirping on a Saturday morning, my neighbors woke up to the smell of Robin's Egg Rustoleum outside their window.  That's one of the awesome benefits of living above me...  


By the way, you can get your security deposit back if you left a rectangle of over spray on the patio...right?  

After doing a couple coats of spray paint on the lamp, I turned my attention to the table.  It had a very smooth top coat and needed to be scuffed up before I painted it.  I took off the hardware and used a very rough grit sandpaper to create a surface my paint would adhere to.  (Looking back, I probably should have upgraded to a softer/higher grit because you could see the strokes underneath the paint.  Live and learn.)


Wood lovers, avert your eyes!


I knew that I wanted to replace the dated handle with something else, so I removed it and plugged up the holes with some wood filler.  As a tip, I like to put a strip of painter's tape along the inside of the drawer to help hold the wood filler in the hole. 


When it comes to deciding which type of paint to use, you have to take into the consideration the finish that's already on your piece, how much prep work you want to put into the piece, and what type of material it is.  Miss Mustard Seed's Milk Paint wouldn't work very well on this piece due to the smooth top coat.  She supplies a bonding agent for her paint, however I would need to do a lot of prep work to get rid of the top coat on this table and I just didn't want to get into another can of paint stripper.  

Chalk paint would work better such as Annie Sloan.  Ultimately, I decided on Persian Blue by General Finishes because I had more of that leftover from a previous project and I wanted to try out their High Performance Topcoat instead of doing a furniture wax or hemp oil.  

Here's the first coat going on.

  
 At this stage in the game, it's important to do multiple light coats of paint than a few heavy coats.  You'll get drips if you paint heavily.  Doing a few light coats helps to eliminate those drips that you'll have to sand out later because you didn't catch them quick enough.  Not that I've ever had to do that...


Here she is in between coats 1 and 2.  

Painting Tip - Always turn your furniture upside down when you're painting!  You will notice drips, spots you missed, etc.  


 Here is a perfect example of some spots I missed on the underside of the legs.  Even though people probably wouldn't see that, you still want a quality paint job.

I've got big plans for this table and her lamp counterpart, so stay tuned for more soon!