Yep, that's right. The DUMPSTER!

The dumpster in my complex is a magical place where discarded pieces of furniture go to be scooped up by
Every so often, I'll stroll by while taking out my trash and I'll see a glimpse of a wooden leg, a sneak peek of a table top, a glance of a discarded mirror and my heart skips a beat. Is there something good back there? Can I remake it into something awesome? Did I just find a total jackpot for FREE?!?!
In this girl's DIY world, FREE is golden because it increases my profit margin exponentially.
If I don't have to shell out money to acquire the item, then it will return much more profit.
A few days ago, I scored this rescued red leather restaurant chair.

Her frame was sturdy.
Her joints tight.
Her padding clean with no mold.
Her (rather brightly colored) red leather in good condition.
Did I have space for her in my car? You bet I did!
I started her renovation process by unscrewing the seat and the back.
After that, I began the tedious process of removing all of the staples that held the leather on. I grabbed my screwdriver and put a flat head attachment on, a small bowl (you'll see why in a minute), and a pair of needle nose pliers. My supervisor, Jake, came over to do some quality control and gave his approval to continue.

As you can see in the photo above, the chair had a piece of black fabric that was stapled on to cover up the places where the red leather was folded over on the bottom. It was in great shape and I liked how it made the bottom "cleaner", so I was very careful not to rip it when I was removing the staples around the perimeter of the seat.

I pried my screwdriver under the staples one at a time and popped them up just enough so I could come back with my pliers to yank them out.


Time Saving Tip: Pop up a bunch of staples in a row and pluck them out in one swoop instead of one-by-one.

Here's where that bowl came in handy!
The wood underneath looked great when I got the black fabric off. It wasn't wet, warped, or stained at all.

I took another trip around the seat and removed the rest of the staples, peeling off the red leather as I went.
Here's the bottom with all of its parts separated from one another. The foam on the seat was in great shape too! It was perfectly shaped to fit the wooden bottom. Most of the chairs I've worked on in the past have either needed a new wooden seat, new padding, both, or I found I couldn't rebuild the bottom at all and it was a wash. I was so pleased to see that the chair was well-built all the way down to her core!

The back rest was a bit more tricky. As you can see, the bottom edge was stapled while the top edge was sewn. It was a little harder getting my screwdriver underneath these staples because they were so close together.

You can also see the holes where the back rest gets screwed into the frame from the bottom.

I thought it would be a good idea to take note that the maker of this chair sewed the front and back panels of leather together and then wrapped them around the back frame. The top piece of this chair was definitely going to be hard to reupholster.

This is what the back looked like once I removed all of the red leather.
Once the cushions were off and deconstructed, I set to sanding the frame of the chair. As you can see in the picture below, the wood had a very shiny polyurethane top coat. I scuffed it up pretty well to ensure that my paint had a surface to stick to.

See all that white powder? That's the poly top coat coming off.
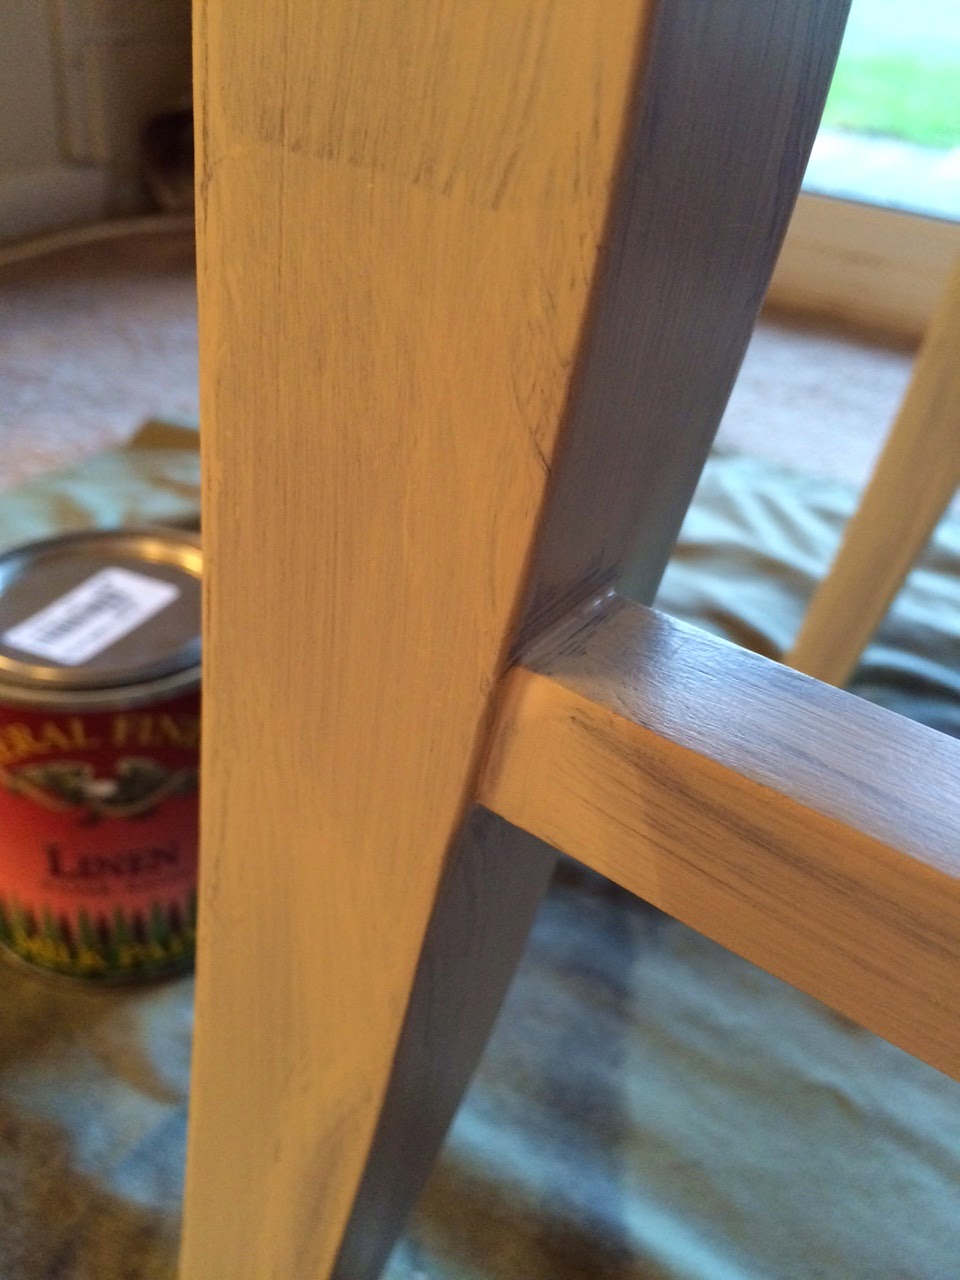
I decided to go with General Finishes Milk Paint in "Linen". You can see the can in the background here. I began by applying multiple light coats of paint. The first always looks the worst. It's splotchy, streaky, and this is the part where some people start to get scared and want to back out of the process. Have no fear! Keep applying your coats of paint and all will be well - I promise!
Here's a sneak peek of the fabric I picked out at Joann's today. Confession - it took about an hour to settle on this pattern. I wanted something modern and geometric as opposed to a floral or toile because the frame of the chair is more modern and sleek. A lot of the patterns were too large for a chair cushion. I wanted something that had a smaller, tighter, repeated pattern so you could see more of it on the cushion. (Does that make sense?)

In between coats of paint, I made sure to sand away any spots where I had build up or drips


And here

And up in the corner.
After a couple coats of paint, it was time to choose a topcoat for the chair. I wanted something quick and easy to apply so I picked Miss Mustard Seed's Furniture Wax. It's buttery soft and goes on easily with a brush or rag.


I worked the wax into the wood in vertical strokes and then came back and wiped away the excess with a rag.
After waxing the frame, I set to work reupholstering the seats. I cut around the fabric

Pressed it

And voila! Let me present Daphne!


Imagine her with wood and red leather before. Quite the transformation, I'd say!
No comments:
Post a Comment